完成相册新建、上传图片等简单的功能小项目。
项目初始化
- 把前端用到的静态资源放到
public目录下 - 把所有的页面都放到
views目录下 - 在项目根路径下创建一个
app.js作为后台的启动入口 - 使用 npm 安装和管理项目的依赖项
- 将所有的相册放到项目根路径下的
uploads目录小
划分哪些资源公共开放
- public
- css
- js
- img
- uploads
- node_modules
设计路由
| 请求方法 | 请求路径 | 响应处理 |
|---|---|---|
| GET | / | views/index.html |
| GET | /album | views/album.html |
| GET | /album/add | 处理添加相册请求 |
| POST | /upload | 处理照片上传请求 |
处理相册静态资源
1 | const http = require('http'); |
路由:根据不同的请求路径做处理。
app.js
1 | const http = require('http'); |
提取的路由模块
router.js
1 | const fs = require('fs'); |
再次封装处理请求的代码, 处理模块,暴漏一系列的方法
router.js
1 | const fs = require('fs'); |
hander.js
1 | const fs = require('fs'); |
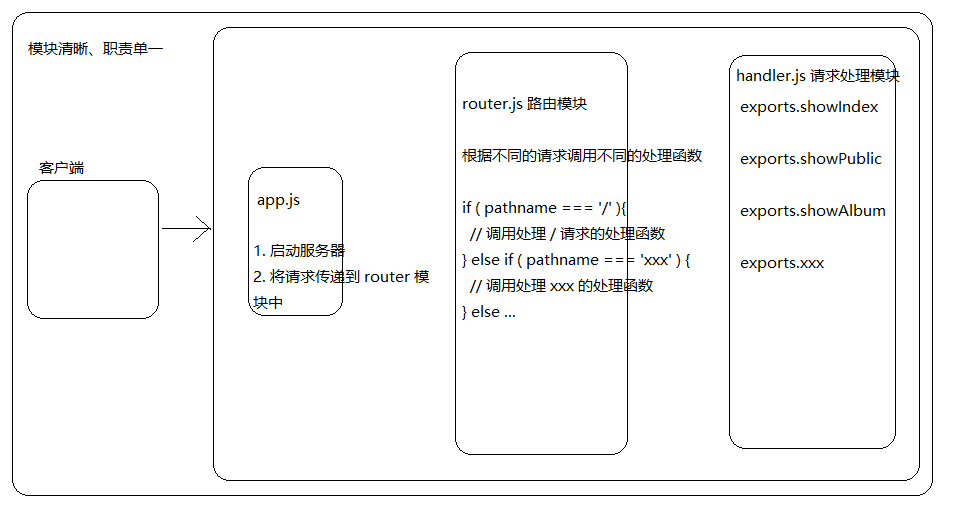
模块清晰-职责单一
客户端 -> app.js (1.启动服务器; 2. 将请求传递到 router 模块中) -> router.js 路由模块 (根据不同的请求路径调用不同的处理函数) -> handler.js 请求处理函数
使用模板引擎
template.js (先看有关 underscore 模板的使用的小例子)
1 | const _ = require('underscore'); |
现在将模板字符串利用读文件的方式读出来。(tpt.html)
1 |
|
现在可以这样写 template.js
1 | const _ = require('underscore'); |
完成首页渲染相册表功能
app.js
1 | const http = require('http'); |
hander.js
1 | const fs = require('fs'); |
router.js
1 | const path = require('path'); |
./views/index.html
1 | <!doctype html> |
请求处理模块调用流程图


